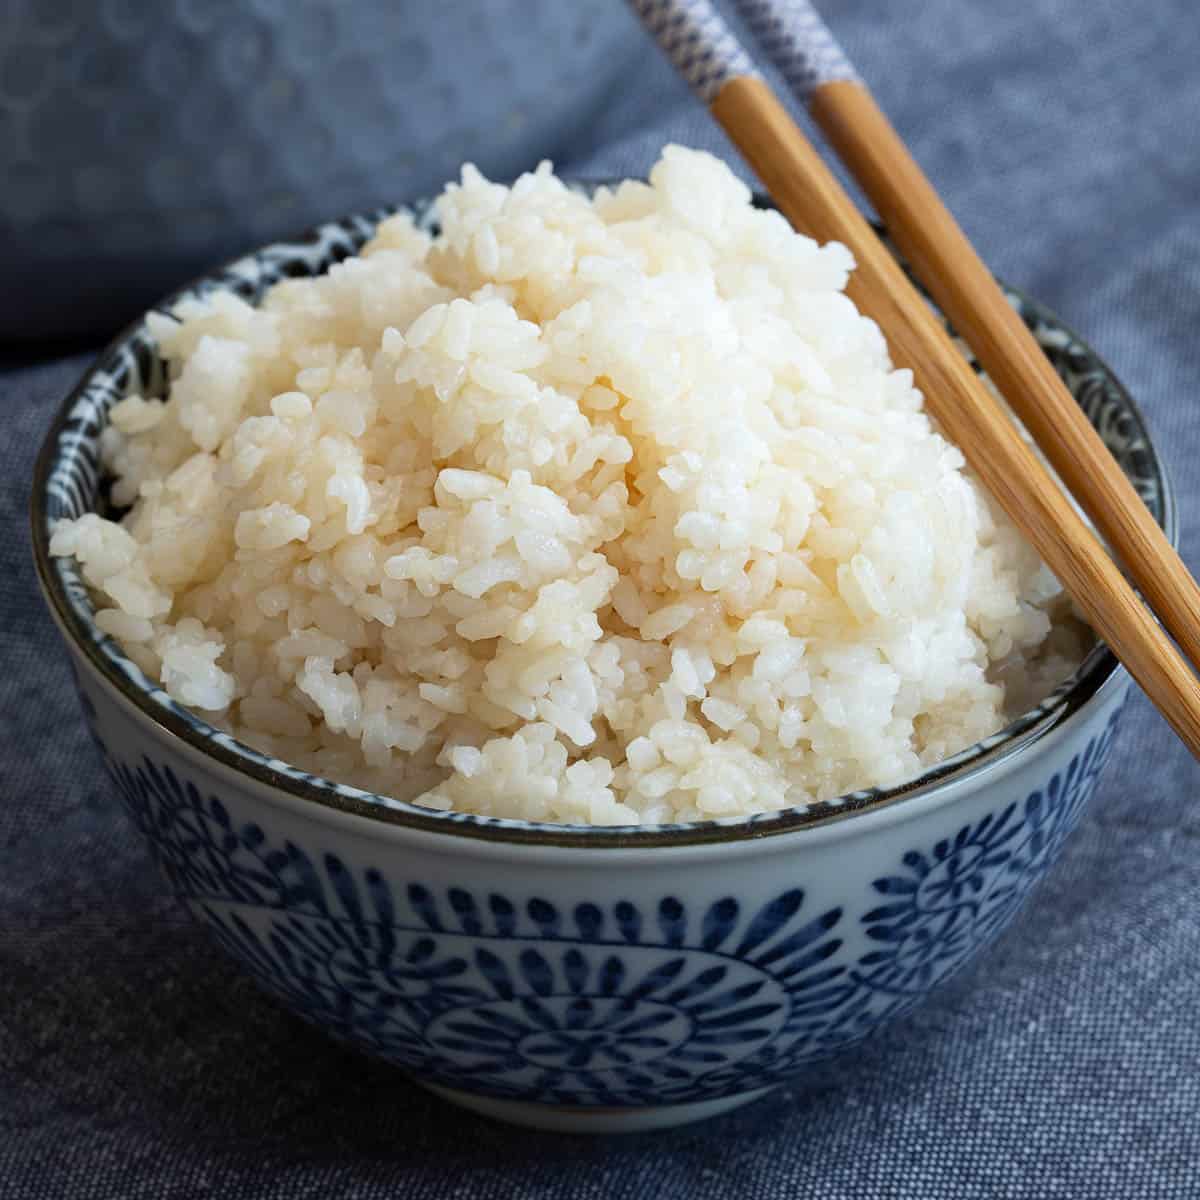
Creating perfect sushi at home is an art that combines precision, patience, and passion. At our restaurant, we take pride in making sushi that’s not just a meal but an experience. Central to this experience is perfecting the sushi rice. In this guide, we’ll walk you through the steps to achieve rice that’s sticky, flavorful, and just the right texture. We’ll also share tips on rolling sushi and offer insights to help you make delicious sushi in your own kitchen.
Understanding Sushi Rice
Sushi rice is not just any rice; it’s a specific type that has unique properties crucial for making sushi. The best choice is short-grain or medium-grain Japanese rice, often labeled as sushi rice. This variety is sticky enough to hold together yet tender and slightly glossy. When cooked properly, it will be the perfect base for your sushi creations.
Choosing the Right Rice
Start with high-quality sushi rice. Look for labels indicating short-grain or medium-grain rice. This rice’s high starch content is essential for achieving the ideal sticky texture. Avoid long-grain varieties, which don’t have the same stickiness and will not hold together well.
Washing the Rice
Washing sushi rice is a crucial step that should not be overlooked. Rinsing removes excess starch and prevents the rice from becoming too gummy. Place your rice in a large bowl and fill it with cold water. Gently swirl the rice with your hand, then pour out the cloudy water. Repeat this process until the water runs clear. This typically takes about three or four rinses. After washing, let the rice drain for about 30 minutes.
Cooking Sushi Rice
For perfect sushi rice, use a rice cooker if possible, as it provides consistent results. Measure 1 cup of sushi rice and 1 cup of water for a basic ratio. If you’re cooking a larger batch, maintain the 1:1 ratio, adjusting the quantity accordingly.
Add the washed rice and water to the rice cooker. If you’re cooking on the stovetop, bring the water to a boil, then reduce the heat to low and cover. Simmer for 15-20 minutes, or until the water is fully absorbed. Once cooked, let the rice sit covered for 10 minutes to allow it to finish steaming.
Seasoning the Rice
Seasoning is what turns plain rice into sushi rice. Mix rice vinegar, sugar, and salt to create a flavorful seasoning. For every 2 cups of cooked rice, use 1/4 cup of rice vinegar, 2 tablespoons of sugar, and 1 teaspoon of salt. Heat the vinegar, sugar, and salt in a small pan until dissolved but do not let it boil.
Once the seasoning is ready, transfer your cooked rice to a large bowl or a flat container. Gently fold the seasoning into the rice using a paddle or a wooden spoon. Avoid stirring vigorously, as this can make the rice mushy. Allow the rice to cool to room temperature before using it for sushi.
Preparing Your Workstation
When rolling sushi, a clean and organized workstation makes the process smoother. Lay out your bamboo sushi mat, and cover it with plastic wrap to prevent the rice from sticking. Have all your ingredients ready, including nori sheets, vegetables, seafood, and any sauces you plan to use.
Rolling Sushi: Step-by-Step
Prepare the Nori: Place a sheet of nori on the bamboo mat with the shiny side down. This will be the outer layer of your sushi roll.
Spread the Rice: With wet fingers (to prevent sticking), spread a thin, even layer of sushi rice over the nori, leaving about 1 inch at the top edge free of rice. Press down gently but firmly to ensure the rice adheres to the nori.
Add Fillings: Place your desired fillings horizontally along the bottom edge of the rice-covered nori. This could include slices of fish, cucumber, avocado, or any other ingredients you prefer.
Roll the Sushi: Lift the edge of the bamboo mat closest to you and begin rolling it away from you, applying gentle pressure to form a tight roll. Use the mat to shape the roll, but be careful not to press too hard.
Seal the Roll: Once you’ve reached the exposed edge of the nori, wet it slightly with a bit of water to help seal the roll. Continue rolling until the sushi is completely sealed.
Slice the Roll: With a sharp knife, slice the roll into bite-sized pieces. Clean the knife between cuts to prevent the rice from sticking.
Additional Tips for Perfect Sushi
Use a Sharp Knife:A sharp knife is essential for clean cuts. A dull knife can squash the roll and make the sushi look less appealing.
Keep Everything Cold: Cold ingredients are easier to work with and help the rice stay at the right consistency.
Practice Makes Perfect: Rolling sushi takes practice. Don’t be discouraged if your first few rolls aren’t perfect. Keep trying, and you’ll improve over time
Experiment with Fillings: While traditional ingredients are great, don’t be afraid to experiment with your favorite fillings. Just ensure they are fresh and properly prepared.
Serve Immediately: Sushi is best enjoyed fresh. Serve your rolls as soon as they are made to enjoy their optimal texture and flavor.
The Key is in the Details
Making sushi at home is a rewarding experience that allows you to enjoy this delicious cuisine right in your own kitchen. By focusing on the fundamentals of cooking and seasoning sushi rice, and mastering the art of rolling, you’ll be able to create sushi that rivals what you’d find in a restaurant. Remember, the key is in the details: from choosing the right rice to perfecting your rolling technique, each step contributes to the final taste and texture of your sushi. So gather your ingredients, roll up your sleeves, and enjoy the process of making sushi at home. Happy rolling!


